You may have noticed it’s been a LONG time since I’ve updated this physics education blog. More likely you haven’t noticed, because it’s been a LONG time since I’ve updated this blog. This hasn’t been due to a lack of topics to write about, but rather, it’s been a conscious choice to plow full steam ahead on a project that began in June of 2013 and that I’m thrilled to announce is now available, The AP Physics C Companion: Mechanics. But first, some background.
Traditional AP Physics C
As a teacher of calculus based physics (AP Physics C – Mechanics and AP Physics C – Electricity and Magnetism), I’m faced with a very unique challenge in those courses. I typically enjoy classes of bright, motivated students who are preparing for careers in engineering, science, medicine, and other technically challenging fields. And I love teaching the content of these courses — the level of technical challenge keeps me motivated, and I love the highly mathematical nature of the course.
 In teaching the class, however, what I found is a very aggressive schedule to fit both courses into the school year, and my students are co-enrolled in calculus (which means they typically need to solve calculus problems in physics before they’ve been introduced to the calculus in their mathematics classes). Further, teaching in a traditional style, I found that most topics fit fairly well into our 42-minute periods. Students come in to class, begin with a warm-up question tied to the previous day’s topic, which we spend a few minutes reviewing, then I have time to present a single topic with an example or two each day. If we don’t take any breaks, and throw in a quiz or test every couple weeks, as well as some fairly straightforward lab activities, we JUST barely get through all of our material in time for the May AP exams.
What I especially enjoy about this class and this method of teaching, however, is the face-to-face time with the kids during the daily lessons. Class sizes for AP Physics C is typically small enough that we have a very informal style that is warm and inviting, yet challenging for all. The students enjoy the class, taking notes from their seats each day, and doing book problems and old AP problems for homework in the evenings. And our AP scores each year are solid.
In September of 2011, however, I decided to try something different. I wanted to get away from the teacher-centric model, as I realized that I was the hardest working person in the classroom. This contrasted with the best teaching advice I ever received, when our assistant principal and my mentor explained that I should strive to “Look like the laziest teacher in the building while the students are in the classroom, and the hardest working teacher in the building the moment they leave.” What he meant was students should be doing the work in the classroom, especially as I continuously espoused my belief that physics is something you do, not something you know. Although the students were doing OK in their passive roles as notetakers, this was a credit to the strength of these students, not my teaching.
A New AP Physics C Methodology
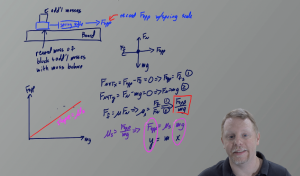
Instead, I began to imagine a classroom in which students directed their own learning, building lifelong learning skills that would serve them well outside the narrow discipline of future physics courses. With the blessings of our administration, I undertook a giant experiment in the classroom. We went through the year with the goal of having zero teacher lectures. Instead, I completely “flipped” the classroom. Students were expected to watch video mini-lessons on topics outside of class, as well as read the textbook and take notes, saving classroom time for group discussions and problem solving, hands-on lab activities, and deeper dives into topics of interest.
I ended up going back to traditional lectures on two topics — Gauss’s Law and the Biot-Savart Law, but for the most part the class ran independently. I built up “packets” of assignments, practice problems, labs and activities for each unit, and students worked at their own pace (within reason) through each unit. Unit exams were given when students said they were ready, with multiple re-take opportunities. This evolved into a self-paced course, and at the end of the year, I found AP scores were significantly higher than in past years, which in retrospect shouldn’t have been surprising. Teaching in this more hands-off manner is very uncomfortable, however. I “feel” like I’m doing a great job when I’m working hard, presenting great lectures, and interacting with the students. Stepping back and watching the students work, only getting involved to ask the occasional question or provide some basic clarification and support is extremely challenging. Given the results, though, I tried it again the following year. Same result!
 These classes were regularly polled for feedback on the course. General observations were that many students felt more intimidated and lost at the beginning of the course. As well, there were several points throughout the year in which the students felt quite frustrated. Polls at the end of the year, however, indicated students felt very confident in their self-teaching abilities, their ability to work through challenges they initially thought impossible, and their comfort level with their preparation for future studies. The most common opportunity they identified for improvement — learning how to read the textbook.
In an effort to address this, I’ve implemented a variety of changes in my classroom. First off, we take some time at the beginning of the year and again after mid-terms to talk about and practice strategies for reading a technical text. We also take some time to talk about how to actively use the video lessons and example problems so that study time is efficient and productive.
The AP Physics C Companion: Mechanics
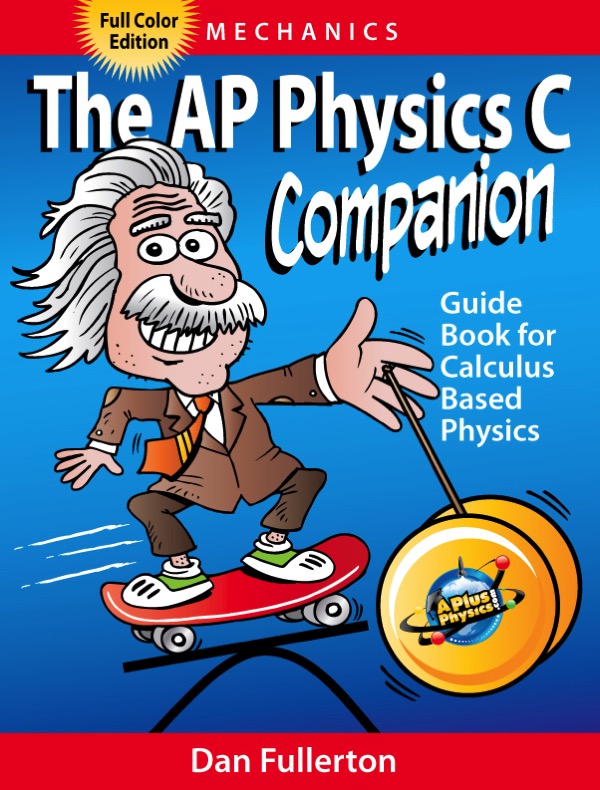
Finally, I started work on a “companion” text to the AP Physics C curriculum, focused on distilling down the key points from the text and illustrating them with a variety of applications. Not really a review book (though it could be used in that sense), but rather a cleaned-up version of instructor notes for the course that could be applicable to any calculus-based mechanics course. A large focus of the book is trading off technical complexity for illustrated application of concepts, including justifications for problem solving steps in the problems themselves, and well-documented problem solutions.
I’ve been using the notes and draft chapters of this book for several years in my classes, which has allowed me a “test run” of various sections and the opportunity to see what works with students, and what needs further revision. The final result, I’m excited to say, is now available as “The AP Physics C Companion: Mechanics.” It will first be available in black and white print editions from APlusPhysics.com and Amazon, as well as a full-color PDF edition on APlusPhysics.com. Shortly thereafter, print editions (both color and black and white) will be available from any retailer, including Amazon and Barnes and Noble. Finally, bulk purchases will be available directly from sales@sillybeagle.com (Silly Beagle Productions) at substantial discounts.
Where’s the E&M Book?
I’ve already been asked repeatedly if there’s an E&M version planned. The answer is rather convoluted, however. The E&M version is half done — the draft is complete as part of my class work and has been for more than a year. I haven’t typeset it yet, however (probably a 6-12 month project), or worked on the graphics for a few reasons. First, it is a huge investment of time to do so, which puts other projects on the back burner. Second, the market for such a book could be pretty small. As only 27,000 students took the AP Physics C: E&M exam last year, that’s a very limited market to cater to. Though the book would be appropriate for an introductory calculus-based E&M course, a very significant portion of students taking the E&M exam would have to purchase and use the book in order to recuperate the costs involved in putting out the book (which are substantial). As most any science author will tell you, there’s not much profit to be made in writing these types of books, and margins are mighty slim. It’s a labor of love because you want to help students (yours and others). I’m already pushing the limits of ‘wise decisions’ in marketing a book to the AP-C Mechanics market (53K test takers last year), and hoping it at least breaks even.
 Before making any commitments to an E&M version, I want to obtain feedback from the mechanics version — are students and instructors finding it helpful, what is a reasonable percentage of the market to anticipate, would it at least break even, and how is the new format received (fewer pages, larger format and type, color vs. B&W, etc.) Given all that, I imagine it’s probably likely at some point I’ll get to work on it (after every book I tend to think I’m done, then eventually change my mind and start on another one). However, it feels good to “fool myself” for awhile and pretend I’m done while I work on updating the APlusPhysics site, continue work on instructional videos, and perhaps get to bed a little earlier in the evenings.
For now, however, I’m excited to announce the release of The AP Physics C Companion: Mechanics. Hope you enjoy it as much as I enjoyed putting it together!
*AP and Advanced Placement Program are registered trademarks of the College Board, which does not sponsor or endorse this product.
